Using the CPL Integration, it is easy to generate an order, automatically send to CPL and file a copy of the order in the patient’s documents. There are 3 parts to the order.
- Create the Order
- Add Tests to the Order
- Send the Order to CPL
Create Order
Select Patient
Navigate to RX/Orders | Orders / Requisitions, CPL tab – New Requisition.
Complete the order information at top.
- Order Date
- Due Date
- Requesting Provider
- Facility. Note: the Facility you select here determines the CPL account # on the order.
- Bill Type. The options are: Insurance, Medicare, Medicaid, Client (that is you, the practice), and patient.
- Primary Insurance. Only enabled if the Bill Type is Insurance, Medicare, or Medicaid.
- Secondary Insurance. Only enabled if the Bill Type is Insurance, Medicare, or Medicaid.
- Fasting Checkbox
- Routine vs. Stat pull-down

Add Tests to the Order
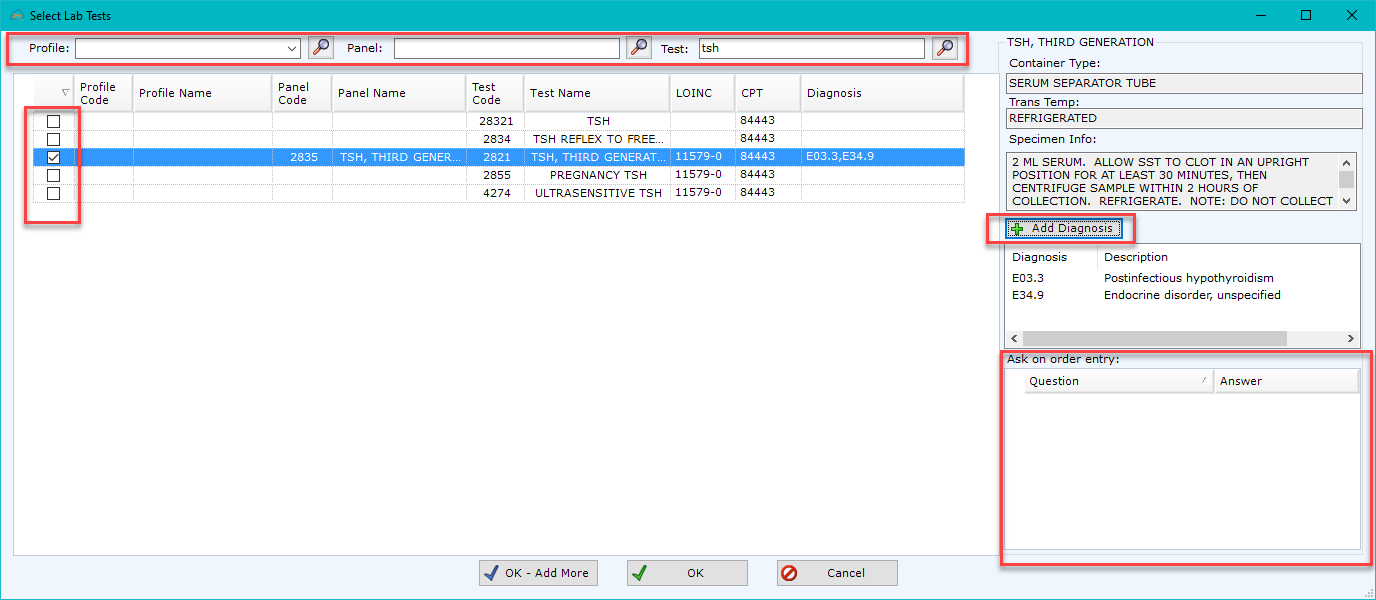
Note: CPL has 3 categories: test, panel, and profile. If you can’t find what you are looking for under test, try to search as a panel, and if you can’t find what you are looking for under panel, search profile. An example: CBC is a panel, but CMP is a profile.
Select Add on the right side of tab; the Select Lab Tests dialog will appear.
Search for the test that you wish to order.
- You must type the text and then select the search button to the right of the area you are searching. It does not automatically search when you select <Enter>.
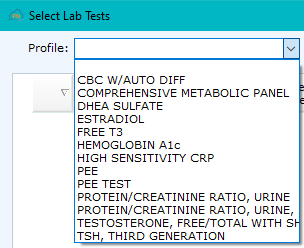
- If you set up Favorite Tests, they are in a pull-down on the Profile selection
If you need container or other information, it is provided in the upper right-hand corner.
Select the Add Diagnosis button; the Add Diagnosis dialog will appear allowing you to select one or more of the Diagnoses attached to the patient in Patients | Clinical Information, Current Medial tab – Problem List section. You may also add a new diagnosis from here that will automatically add to the patient for the future.Note: Every test that is ordered must have at least 1 diagnosis attached.
The last thing to check is the Ask on order entry: section. If the test requires you to answer questions about the patient or their condition, you must answer those questions here before you are allowed to select OK.
Select OK (if you are finished selecting tests for the order) or OK – Add More (if you need to select additional tests for the order).
Send the Order to CPL
You may add comments to the order if necessary. Just select the Add button to the lower right side of the tab. You may configure frequently used comments in Administration | Clinical Admin, Orders/Requisitions tab.
Select Send.

A dialog will appear asking you if you are sure.
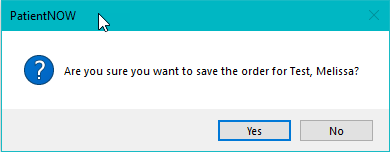
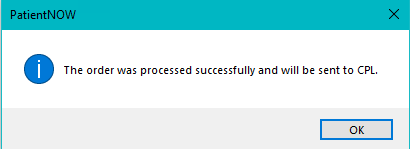
Select Yes. There will be a short delay while patientNOW connects to CPL and sends the order. You will receive a message when it is done.
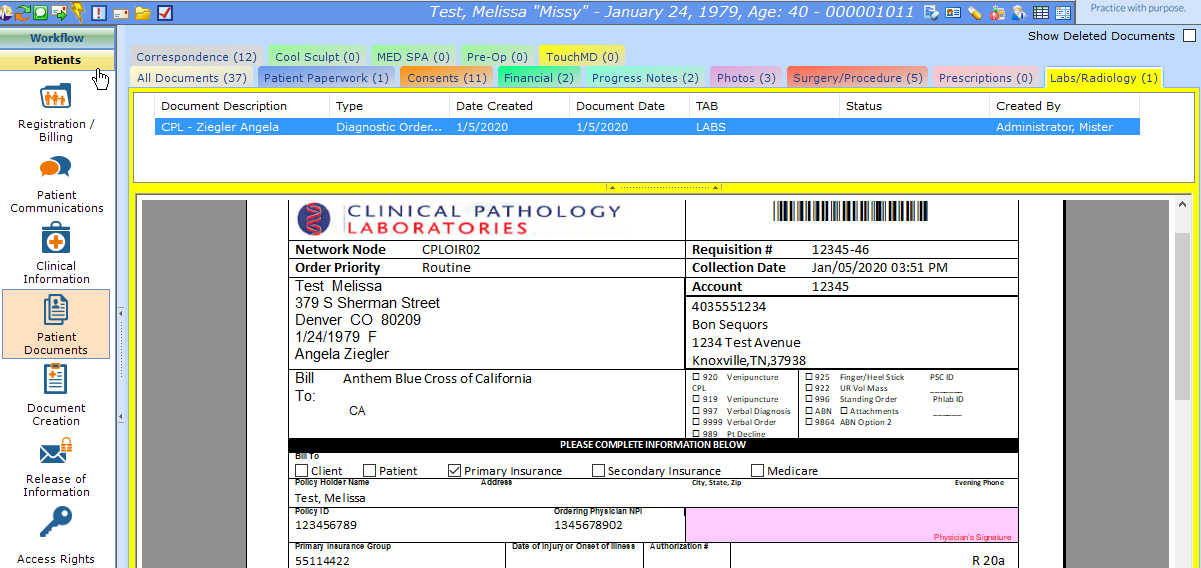
Once the order is sent, you can see a copy of the order in Patients | Patient Documents. You may view or print the order from there.