patientNOW is integrated with CareCredit for payments, refunds, and QuickScreen®. This integration basically launches CareCredit’s system from patientNOW, allows you to complete tasks in their system, return to patientNOW, and retrieve the important information from their system to populate patientNOW.
The instructions below describe the process you will take in patientNOW; refer to your CareCredit training for instructions on completing tasks in the CareCredit system. Note: For versions 7.0.203 and higher, you must configure the integration as show below.
Definitions
QuickScreen – The Quickscreen check is not an application for credit. Utilizing Quickscreen helps determine if your patient/client will be Pre-approved for CareCredit before the financial discussion of a treatment or recommended care plan. This functionality may be turned on or off.
Decision – The Pre-approval offer must be presented to patient/client within 30 days. After the offer is presented, you should indicate the patient/client decision via your patientNOW’s CareCredit integration. See Decision, Application, and Lookup below. If the patient/client is not sure, do NOT indicate the patient/client’s decision of (accept or decline). The patient/client may decide they want to accept the offer at a later date when they receive the Pre-approval letter from Synchrony Bank.
MID – Merchant Identification Number; this is assigned to your account(s) by CareCredit.
The Care Credit Integration
In all of these situation, except Batch Quickscreens, you will be launching the CareCredit system from inside of patientNOW and then pulling back information from your activities. You will see a Complete button at the top of the screen which will allow you to return to patientNOW. Note: If you select Complete before you have finished your work in the Care Credit system, you will lose your work. Be sure to complete each task before selecting Complete to return to patientNOW.
Add MID Information
Determine the MID(s) for your practice; you may need to sign on to CareCredit or look at your last statement.
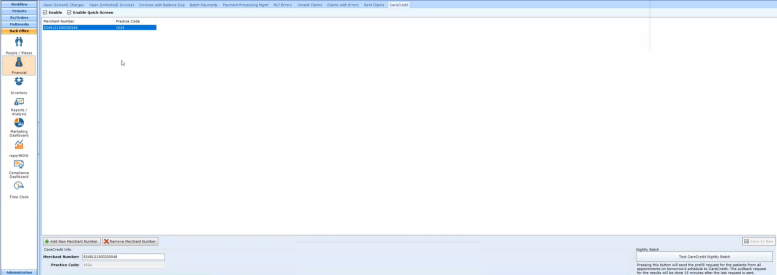
Navigate to Back Office | Financial, CareCredit tab.
Select Add New Merchant Number.
Enter first (only) MID at bottom and select Save as New on far right. The Practice Code is already entered by patientNOW; you will just need to enter the MID.
Repeat until all MIDs are entered.
Note: if you wish to have the QuickScreen Batch run each night, you will need to check the Enable Quick Screen box in upper left hand corner. For additional information, check out Batch QuickScreen.
Configure Provider’s and Facilities for each MID entered
patientNOW allows you to configure multiple MIDs for your practice(s). If you have a spa (location) that has MID #1 and a plastic surgery practice that has MID # 2, you may now configure each MID to be used with applicable provider / facility combinations. The provider / facility configured for each MID is the Invoice provider and Income Facility, not the line item provider and facility.
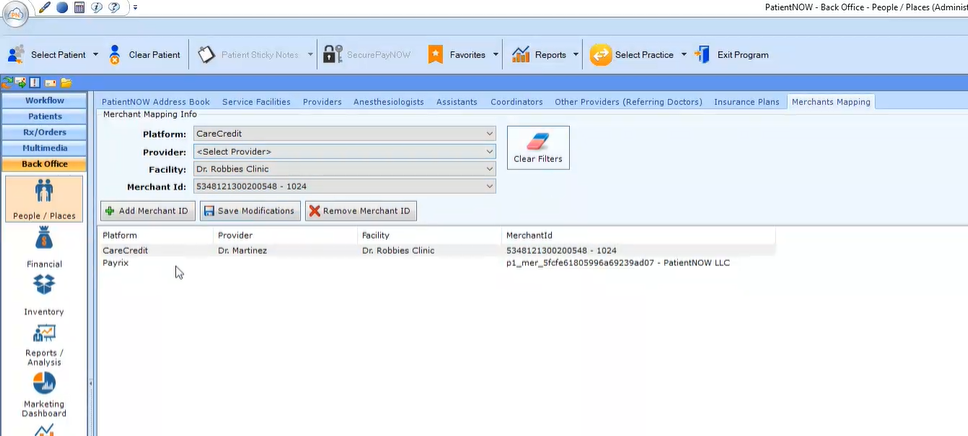
Navigate to Back Office | People / Places, Merchants Mapping tab.
Select the following at the top of the screen.
- Platform – select CareCredit
- Provider – if the MID is provider-specific, enter it here. If the MID covers all providers, leave this pull-down as <Select Provider>
- Facility – if the MID is service facility-specific, enter it here. If the MID covers all facilities, leave this pull-down as <Select Facility>
- Merchant ID – select the applicable MID for the Provider / Facility combination
Select Add Merchant ID.
Batch QuickScreen
Each night, patientNOW automatically sends a request to determine the status of each patient with CareCredit. If the patient is not a Current Cardholder, CareCredit performs a QuickScreen to determine the CareCredit status of each patient. This does not hit the patient’s credit report as it is a “soft” request. You will see icons on the patient appointment demonstrating the result of the QuickScreen request.
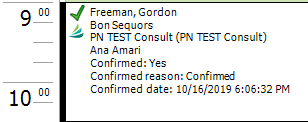
Current Cardholder
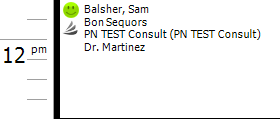
You will see a 3-color version of the CareCredit “wave” underneath the icon for appointment confirmation. This means that the patient is a current CareCredit cardholder and you may initiate a payment from Apply Patient Payment on the Invoices tab. See Process a Payment below.
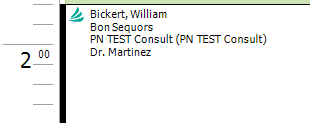
Pre-approved
You will see a teal version of the CareCredit “wave” underneath the icon for appointment confirmation. Note: A Decision from the patient on this Pre-approval offer is required. From the CareCredit home page click Quickscreen / Check Approval Status. Enter patients information, Make an Offer, and click accept or decline.
Manual Intervention Required
You will see a gray version of the CareCredit “wave” underneath the icon for appointment confirmation. This does not mean that the patient was declined, it just means a pre-approval could not be obtained for this patient with the information given. They could still qualify if you offer the credit application. For additional information, check out Decision, Application, and Lookup
Process a Payment
You will follow normal procedures for creating an invoice then select the CareCredit payment method.
Select Patient.
Navigate to Patients | Registration / Billing, Invoices tab.
Highlight the invoice to be paid (or create a new invoice).
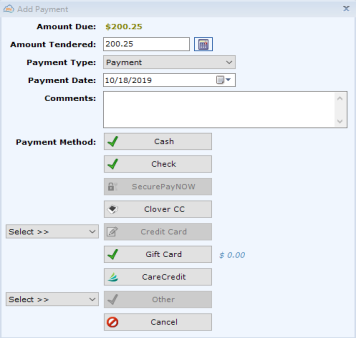
Select Apply Patient Payment.
Select the CareCredit button; the CareCredit interface will launch.
Note: The CareCredit button will only show if the patient is a current cardholder.
Complete the payment in the CareCredit system.
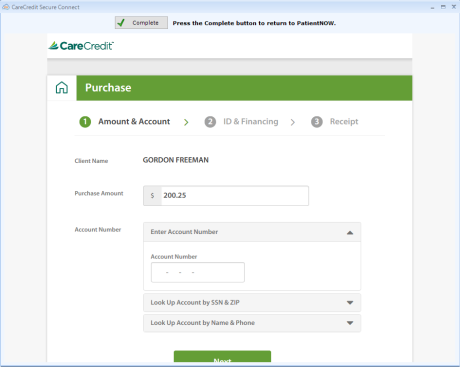
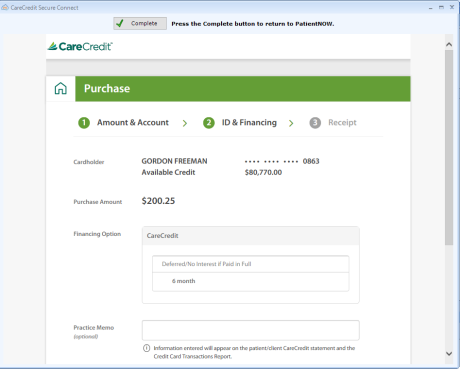
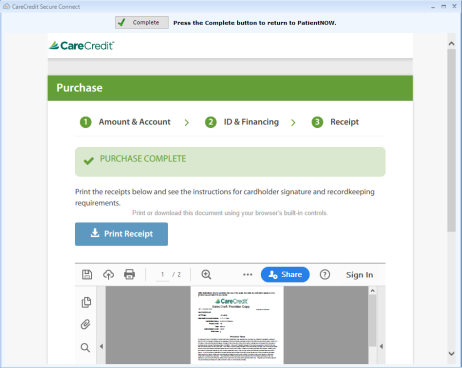
Select Complete.
Note: If the patient does not have sufficient credit available to pay for the entire invoice, the Apply Patient Payment window will appear a second time for you to pay with another Payment Method.
Process a Refund
You will follow normal procedures for refunding a payment and then complete it in the CareCredit system.
Select Patient.
Navigate to Patients | Registration / Billing, Invoices tab.
Highlight the invoice to be refunded.
On the Payments subtab, highlight the Payment to be refunded.
Select Refund.
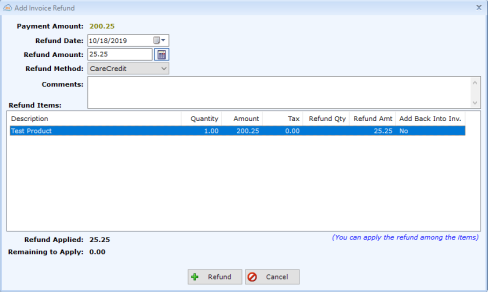
Complete the Refund information normally; select CareCredit as the Refund method.
Select Refund; the CareCredit interface will launch.
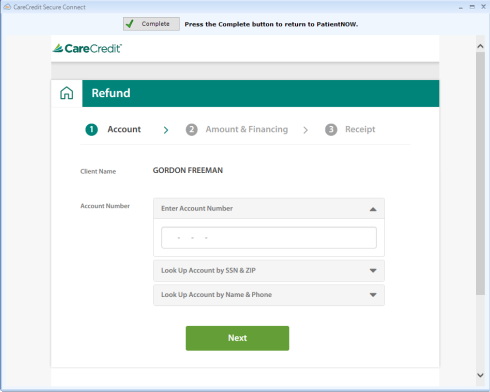
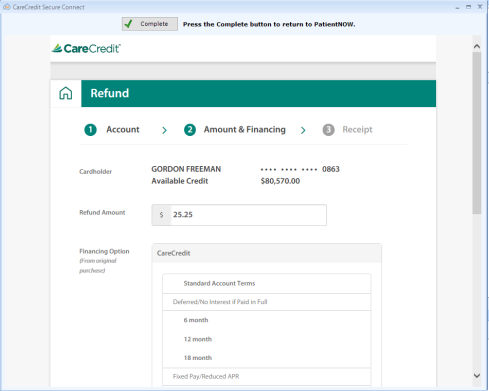
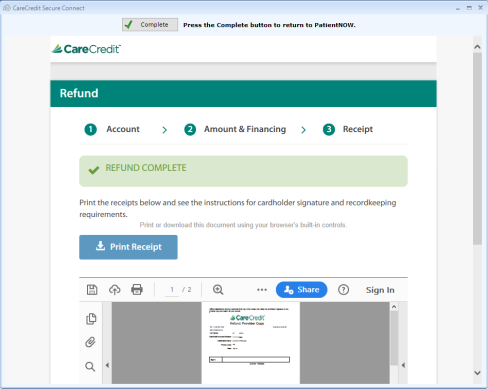
Select Complete to return to patientNOW.
Decision, Application, and Lookup
Much of the work you will do with CareCredit actually occurs in their system, patientNOW just pops up a window for you to accomplish that work. When you have completed your work, then select the Complete button to return to patientNOW button.
To capture your patient’s decision, complete an application, or lookup information about the patient’s account:
Select Patient
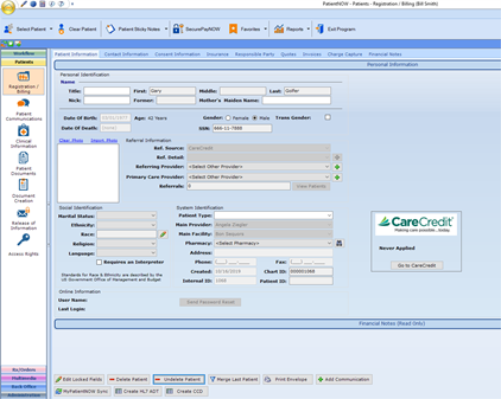
Navigate to Patients | Registration / Billing, Patient Information tab.
You will see the patient’s status with CareCredit in the window. You may see
Select Go to CareCredit.
Warning: Do NOT process a payment or a refund from this area. CareCredit will allow you to process them from here, but the invoice will NOT be updated correctly.
Follow instructions for preapproval acceptance and application supplied by CareCredit.
When you have completed your task. Select Complete to return to patientNOW.